
For most side windows with flexible, newer film, heat and peel it off with a hair dryer or heat gun. For baked-on, brittle old film, soak it with a trash-bag ammonia method or use a commercial adhesive remover. Never touch a rear defroster with a metal razor blade. Plastic scrapers only, every time.
TL;DR:
- Using heat and peeling is effective for newer, flexible film on side windows, but older, baked-on tint requires ammonia soaking or commercial removers.
- Steamers provide faster removal for large jobs but are unsuitable for brittle or plastic-backed tint, which may warp under sustained heat.
- Applying ammonia in a sealed trash bag in sunlight softens stubborn adhesive, allowing old tint to be peeled in sheets, but ammonia can discolor nearby materials.
- Residue removal needs gentle solvents like isopropyl alcohol or commercial adhesives, with scraping tools appropriate for window type to avoid damaging defroster lines or seals.
- Complex jobs involving rear defrosters, sensors, or plastic windows benefit from professional removal to prevent costly damage and ensure proper reinstallation.
Table of Contents
- How to Choose the Right Method to Remove Old Window Tint
- How Do You Heat and Peel Old Window Tint?
- Why Do Detailers Prefer Steamers for Full Removals?
- How Do You Remove Baked-On Tint With the Trash-Bag Method?
- How Do You Get Old Adhesive Residue Off Glass?
- What Tools Do You Need to Remove Old Window Tint?
- What Are the Biggest Mistakes People Make Removing Tint?
- When Should You Call a Professional Instead?
- What’s the Real Lesson Here?
- Get Professional Tint Removal and Reinstallation in San Diego County
- Sources
- FAQ
How to Choose the Right Method to Remove Old Window Tint
The right technique depends on two things: how old the film is, and what kind of glass you’re working on. Get either wrong and you’ll spend an afternoon scraping confetti-sized shreds off the glass instead of peeling clean sheets.
Match the job to the method:
- Newer, flexible film on side windows: heat and peel with a hair dryer or heat gun.
- Full-car jobs or several windows at once: a handheld steamer moves faster and softened adhesive more evenly.
- Old, brittle, or baked-on film, plus most vertical residential glass: trash-bag ammonia soak or a solvent-based adhesive remover.
- Rear windshields with defroster lines, sensors, or plastic rear windows on convertibles: treat as higher risk. A wrong move here can mean a $200+ repair bill.
Budget your time honestly. Installers who do this daily estimate 30 to 90 minutes per window for film removal, plus another 20 to 60 minutes for adhesive cleanup. First-timers should double that. A full sedan with tint on five windows can easily eat a Saturday.
How Do You Heat and Peel Old Window Tint?
This is the go-to method for most automotive side windows, and it works because heat softens the adhesive just enough to let the film release in one piece instead of shredding.
- Wash the glass with soap and water so you’re not dragging grit across it, and lay towels over the door panel and dash to catch drips.
- Hold a hair dryer on high about 2 to 3 inches from the glass, or a heat gun on low from about 6 inches away, and warm a section roughly one foot square for 30 to 45 seconds.
- Pick at a corner with a plastic scraper, then grip the lifted edge and pull at a 45-degree angle, working in long strips rather than yanking straight back.
- Reheat any spot where the film resists. Patience beats force here.
- If the film tears, stop pulling. Reheat the torn edge, slide the plastic blade underneath to start a fresh lift point, and go slower from there.
Pro Tip: Work top to bottom on each window. Gravity helps pull the strip down and away instead of fighting you sideways.
Why Do Detailers Prefer Steamers for Full Removals?
Steam beats a hair dryer for speed because it delivers consistent, deep heat that softens adhesive across a wider area at once, which is why professional detailers lean on steam for full-car jobs rather than working window by window with a heat gun.
- Fill the steamer, let it come to full pressure, and hold the nozzle about an inch from the glass.
- Work in roughly one-foot sections, moving the nozzle steadily rather than parking it in one spot.
- Peel or scrape immediately behind the steam while the adhesive is still warm. Wait too long and it re-hardens.
- Skip the steamer on older, brittle film or on plastic rear windows. Both can warp or craze under sustained heat.
Steam is fast, but that speed cuts both ways. It’s easy to over-steam a section and end up with a scalding cloud in your face or drips running toward electrical connectors near the defroster tabs. Keep the nozzle moving and stay aware of what’s below the glass, not just what’s on it.
How Do You Remove Baked-On Tint With the Trash-Bag Method?
When film has been sun-baked for a decade and refuses to lift with heat, an ammonia soak does the slow, patient work that a hair dryer can’t.
- Cut a heavy-duty black trash bag to fit the window, spray the glass with ammonia (or a strong soapy water solution if you want to skip the fumes), and press the bag against the wet film.
- Seal every edge with tape so the bag stays put, and park the car in direct sun for 1 to 2 hours. The trapped heat and moisture soften even stubborn adhesive.
- Wear nitrile gloves and work with windows down or in an open garage. Ammonia fumes build up fast in a closed cabin.
- Peel from a corner once the bag comes off. It should come away in sheets rather than fragments.
Keep ammonia off trim and fabric. It can dull plastic finishes and discolor cloth upholstery over repeated exposure.
How Do You Get Old Adhesive Residue Off Glass?
Peeling the film is only half the job. What’s left behind is a haze of gummy adhesive that needs its own removal sequence, and the order you attack it in matters more than most DIYers realize.
Start gentle, escalate only if needed:
- Isopropyl alcohol, 70% or higher, wiped on with a microfiber towel, handles light residue on its own.
- Citrus-based removers or Goo Gone step up the strength for medium buildup without the harshness of stronger solvents.
- 3M™ Adhesive Remover is the commercial-grade option for residue that laughs off household products. It’s a wipe-on, wipe-off formula built to dissolve adhesive without damaging cured paint or glass, which is why it shows up in professional detailing kits as often as it does in DIY garages.
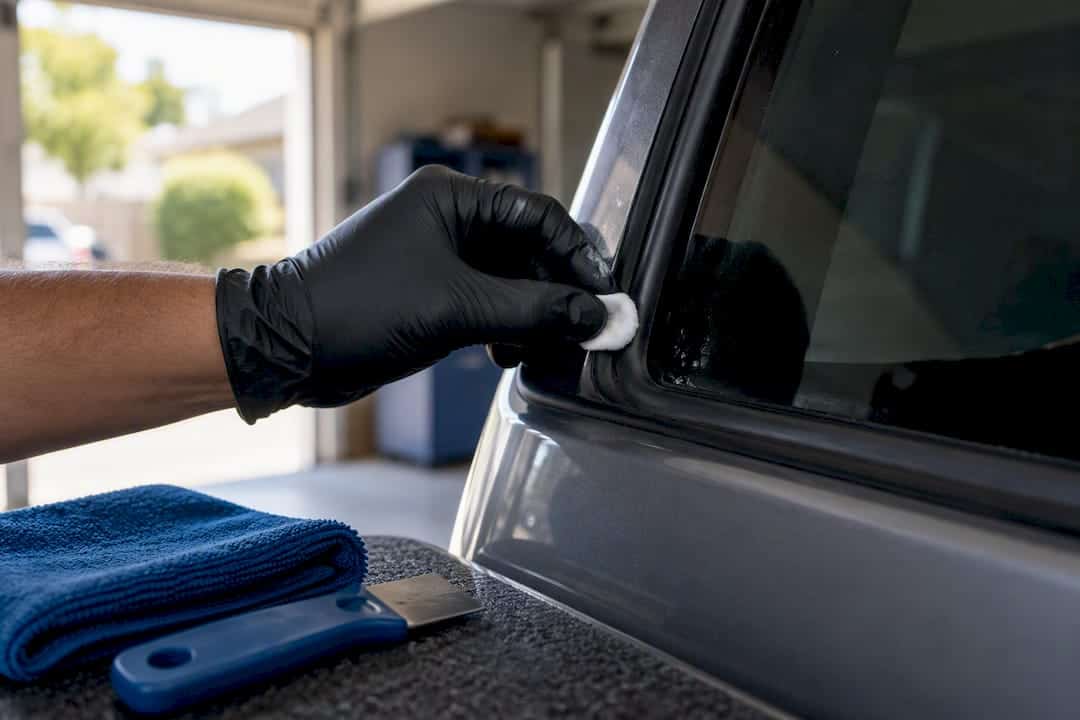
The scraping tool matters as much as the solvent. A single-edge razor blade at a shallow angle works fine on plain tempered side glass, but switch to a plastic scraper or a soft adhesive-removal wheel on any window with defroster lines. The accepted sequence is soften, scrape at a low angle, then wipe clean, repeating as needed rather than pressing harder on the first pass.
One overlooked detail: vinegar barely qualifies as a solvent here. It handles fresh, thin residue, but against decade-old baked-on glue it’s slow enough that most people give up before it finishes the job. Test any solvent on a small hidden corner first, and keep acetone away from window trim and rubber seals entirely. It eats plastic on contact. Abrasive pads are off-limits too, especially on Low-E coated residential glass, where a scratch is permanent.
What Tools Do You Need to Remove Old Window Tint?
You don’t need a shop full of gear, but skipping the right tool for the right step is how most DIY jobs go sideways.
- Spray bottle and dish soap for washing glass before and after.
- Microfiber towels (buy more than you think you need) and nitrile gloves for solvent work.
- Single-edge razor blades, plus spares. A dull blade drags and tears rather than cutting cleanly.
- Plastic scrapers, mandatory for any window with a defroster or heating element.
- Isopropyl alcohol and a bottle of 3M™ Adhesive Remover for the stubborn spots.
- Handheld steamer or heat gun if you’re tackling more than one or two windows.
Budget kits run you a razor set, a bottle of alcohol, and a scraper for well under $30. Pro-grade adhesive-removal wheels and mandrels cost more but pay for themselves if you’re doing a full car or several residential panes in one weekend. If you’re also cleaning the glass afterward, a streak-free glass-cleaning method helps you spot any leftover haze before you call the job done.
What Are the Biggest Mistakes People Make Removing Tint?
The costliest DIY errors aren’t hard to avoid once you know what to watch for.
- Using a metal razor on a rear defroster line. This scores or severs the thin conductive strips, and repairing them isn’t cheap.
- Working with acetone near door seals or interior plastics, which can soften or discolor them within minutes.
- Scraping in direct sun with a fast-drying solvent, which leaves you fighting hardened residue before you’ve finished the section.
- Forcing a scrape when film shreds or glass starts to cloud. Stop, switch tools, or add more solvent instead of pressing harder.
Pro Tip: If a section isn’t cooperating after two reasonable attempts, that’s your signal to switch methods, not your signal to push harder.
Know when to stop entirely: a compromised rear defroster, a plastic rear window on a convertible, or a large residential Low-E pane are all situations where one wrong pass can turn a $0 DIY project into a repair bill.
When Should You Call a Professional Instead?
Certified mobile technicians carry equipment and warranty coverage that a garage toolkit can’t match, and they can handle ADAS calibration or insurance paperwork in the same visit. That matters most on rear defroster windows, plastic-backed rear glass, or any job tied to an insurance claim or sensor recalibration. A pro visit also cuts the odds of an expensive replacement caused by a scored defroster line or cracked seal, and it’s worth comparing warranty terms and mobile availability before you decide.
What’s the Real Lesson Here?
Most tint-removal guides treat every window the same, and that’s the biggest gap in the conventional advice. A side window with three-year-old film and a rear windshield with defroster lines are not the same job, and treating them that way is how people end up with a repair bill bigger than the tint job ever cost.
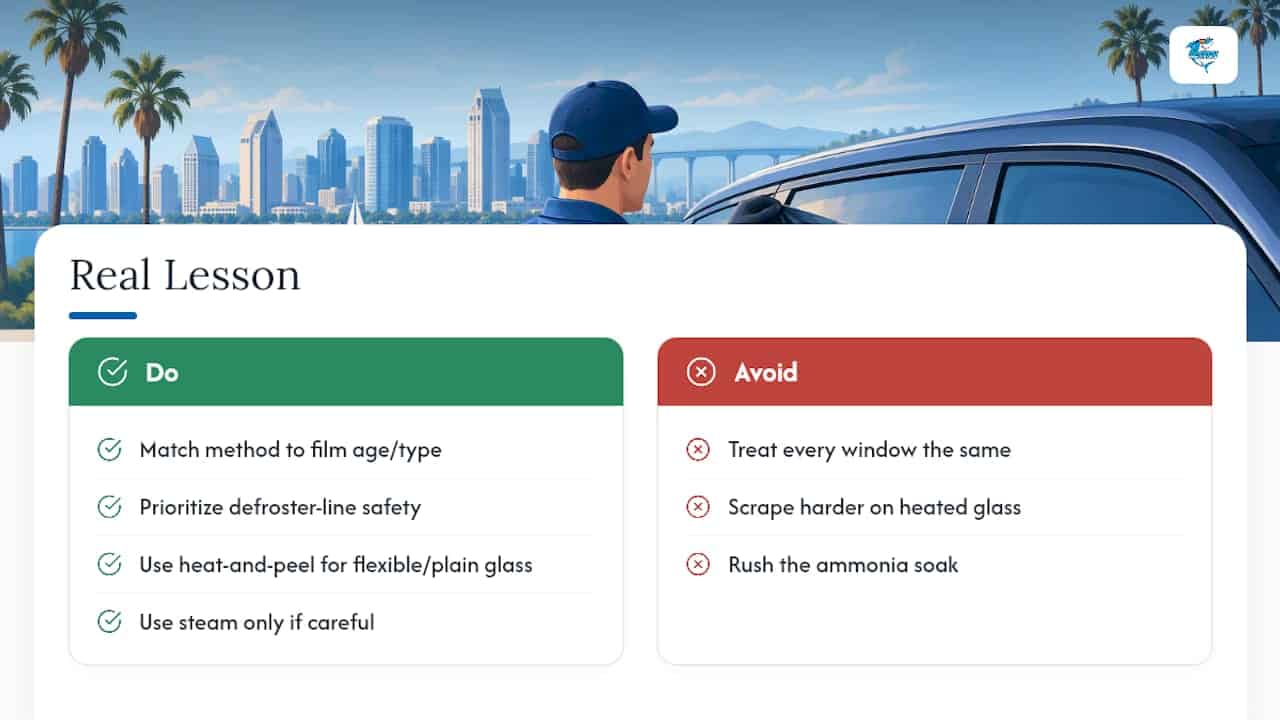
The evidence here points to a simple hierarchy: match the method to the film’s age and the glass type first, then worry about technique. Heat and peel is fine for flexible film on plain glass. Steam earns its reputation for speed, but only in careful hands. The ammonia soak is slow because it has to be. There’s no shortcut that skips the patience part.
If there’s one thing worth prioritizing above all else, it’s the defroster line rule. Every other mistake on this list is fixable with more solvent or more patience. A severed defroster strip usually isn’t. When in doubt on any window with heating elements, plastic backing, or sensors, the smarter move is stepping back, not scraping harder.
— Speedy Windshield Repair
Get Professional Tint Removal and Reinstallation in San Diego County
Speedy Windshield Repair San Diego is the alternative to a weekend lost to razor blades and ammonia fumes. Our certified mobile technicians come to your home or office anywhere in San Diego County, handle old film removal and fresh window tint installation in the same visit, and back the work with a lifetime workmanship warranty.

Beyond tint, technicians handle windshield and auto glass replacement, ADAS calibration, and insurance paperwork on-site, often for $0 out-of-pocket when insurance coverage applies. If your tint job involves a rear defroster, a windshield with sensors, or you’d simply rather not spend a Saturday scraping glue off glass, request a quote and we’ll schedule a technician to come to you.
Sources
For deeper product detail and technique, see 3M™ Adhesive Remover for residue removal, wikiHow’s step-by-step tint removal guide for method variations, and Consumer Reports’ breakdown of ceramic tint for context on why some films are pricier to remove than others.
- 3M™ Adhesive Remover | 3M United States
- How to Remove Car Window Tint: DIY Methods & Pro Tips (2024 Guide)
- How to Remove Window Tint Glue from Glass (5 Methods)
FAQ
Does WD-40 Remove Window Tint?
WD-40 isn’t a recommended tint-removal solvent. It’s formulated as a lubricant, not an adhesive dissolver, and it can leave an oily film that makes cleanup harder rather than easier. Stick with isopropyl alcohol or a purpose-built product like 3M™ Adhesive Remover instead.
Will Vinegar Remove Old Window Tint?
Vinegar can loosen fresh, thin adhesive residue, but it’s too weak to break down old, baked-on glue in any reasonable timeframe. For film that’s been on the glass for years, rubbing alcohol or a commercial remover works faster with less scrubbing.
Can You Just Peel Off Old Window Tint?
Dry peeling rarely works cleanly on old film because the adhesive has hardened over time and grips the glass tightly. Warming the film first with a hair dryer, heat gun, or steamer softens that bond so it comes off in strips instead of shredding into small pieces.
What Are the Most Common Mistakes When Removing Tint?
The biggest ones are using a metal razor blade on a rear defroster line, scraping too aggressively when film shreds instead of switching methods, and using acetone near trim or seals. Any of these can turn a simple DIY afternoon into a costly repair.
Can You Tint Over Old Tint Instead of Removing It?
No. Installing new film over old tint traps bubbles, distorts clarity, and voids most warranties, including the workmanship warranty on professional installs. Old film always needs to come off completely before new tint goes on.
How Long Does It Take to Remove Old Window Tint?
Plan for 30 to 90 minutes per window for film removal, plus 20 to 60 minutes for adhesive cleanup, and expect first attempts to run longer. A full car with five tinted windows can take most of a day for a first-timer.
Recommended
- 48–72 Hours: First-Week Tint Care for San Diego Drivers
- San Diego Drivers: 5 Prep Steps Before a Window Tint Appointment
- San Diego Tint Laws: What’s Legal and What’s Not
- $150–$800 Car Tint Cost in San Diego, Legal Limits & Quote Checklist