
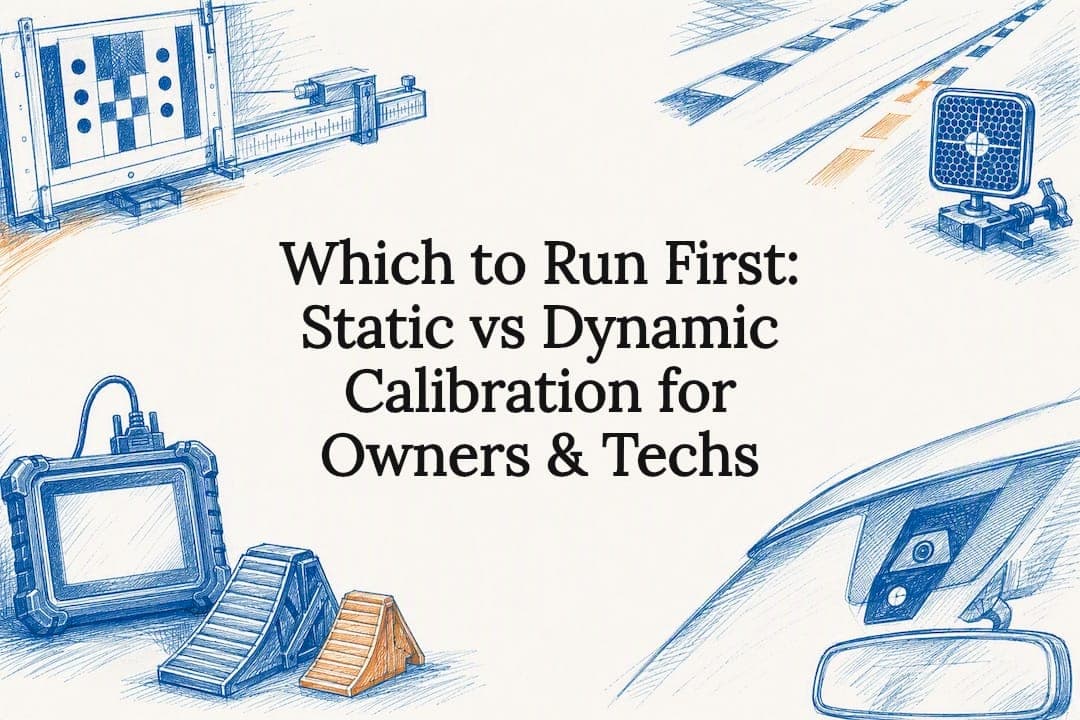
Static calibration happens indoors, with the vehicle parked and OEM-specified targets set at exact distances from the bumper. Dynamic calibration happens on a real road, where the camera or radar learns from lane lines and other vehicles at a set speed. The manufacturer’s service procedure decides which one applies, and on a growing number of vehicles the answer is both, with static almost always going first.
TL;DR:
- Static calibration offers high repeatability by precisely aiming sensors indoors with OEM targets, but it requires a controlled workspace and can take up to three hours.
- Dynamic calibration is performed on-road using lane markings and traffic, usually taking less than an hour, but is highly dependent on weather, traffic, and road conditions.
- Many modern vehicles require both static and dynamic calibration in sequence, with static usually performed first to establish a baseline before validating sensor performance in real-world scenarios.
- Proper calibration procedures include pre-checks like wheel alignment and clear documentation of setup, with failure causes often linked to poor conditions or inaccurate target placement rather than sensor hardware issues.
- Always consult the OEM-specific procedure before scheduling calibration, and ensure thorough documentation to protect safety and liability in case of future sensor disputes.
Table of Contents
- Static vs Dynamic Calibration: The Core Difference
- What Is Static Calibration and How Does It Work?
- What Is Dynamic Calibration and How Does It Work?
- Comparing Static and Dynamic Calibration Side by Side
- How to Decide Which Calibration Your Vehicle Needs
- Why Calibrations Fail and How to Fix Them
- What to Expect From a Mobile ADAS Calibration Appointment
- Why Documentation Is the Part Nobody Talks About
- Book a Mobile ADAS Calibration in San Diego County
- Sources
- FAQ
Static vs Dynamic Calibration: The Core Difference
The terms describe where the calibration happens and what the sensor uses as its reference point. Static calibration keeps the car parked in a shop bay while a technician places printed targets or radar reflectors at manufacturer-specified points around the vehicle. Dynamic calibration keeps the car moving, letting the forward-facing camera or radar system learn its alignment from lane markings and traffic while driving a prescribed route at a set speed.
Neither method is universally “better.” A camera aimed at a target eight feet away in a controlled bay isn’t solving the same problem as a radar module reading a moving world at 35 miles per hour. Static calibration is performed indoors with precise targets, while dynamic calibration is done on-road using lane markings, and the OEM procedure for that specific make, model, and trim tells a shop which one, or both, the job requires.
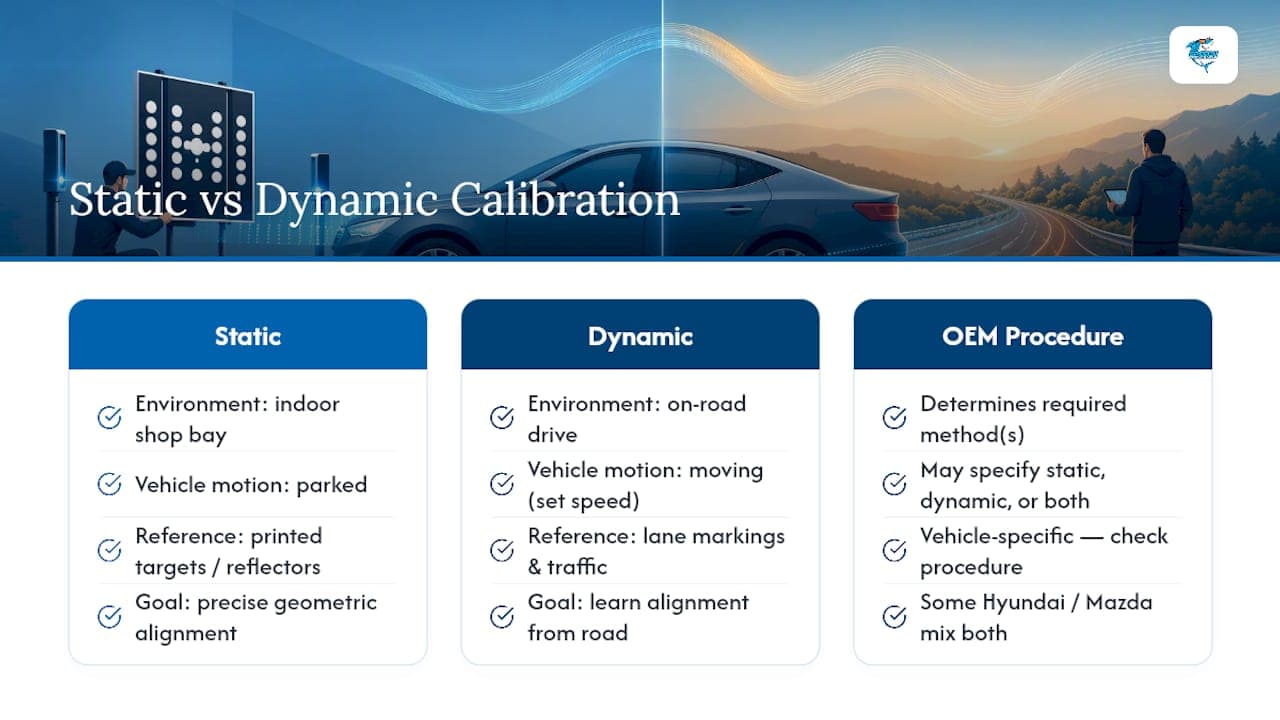
That last part trips up a lot of car owners who assume one method is the industry standard. There isn’t one. Toyota and Subaru models often lean static-heavy. Honda and Nissan frequently call for dynamic drives. Some Hyundai and Mazda platforms mix both in the same repair. The only way to know for certain is to pull the procedure for that specific vehicle, not to guess from what worked on a friend’s car.
What Is Static Calibration and How Does It Work?
Static calibration aims the ADAS sensor at a known, fixed geometry instead of the real world, which is why it happens in a controlled bay rather than on the street.
Pre-checks come first. A technician inspects wheel alignment, since sensor aim is measured relative to the vehicle’s thrust line, checks tire pressure, confirms ride height sits within spec, and clears any stored diagnostic trouble codes before touching a target. Practitioners recommend starting with an alignment inspection because a car sitting slightly out of alignment will calibrate the camera to a false centerline, and every reading downstream inherits that error.
Setup follows a strict sequence. The technician establishes the vehicle’s true centerline, then positions OEM-specified targets, printed pattern boards, or radar reflectors at exact distances and heights called out in the service procedure. The shop floor has to be level, lighting has to be even, and the background behind the targets needs to be clear of clutter that could confuse the camera.
Equipment includes a calibration frame or target stand, the correct target boards for that model, laser measuring tools, wheel chocks to lock the vehicle in place, and an OEM-compatible scan tool to run the calibration routine and confirm the pass.
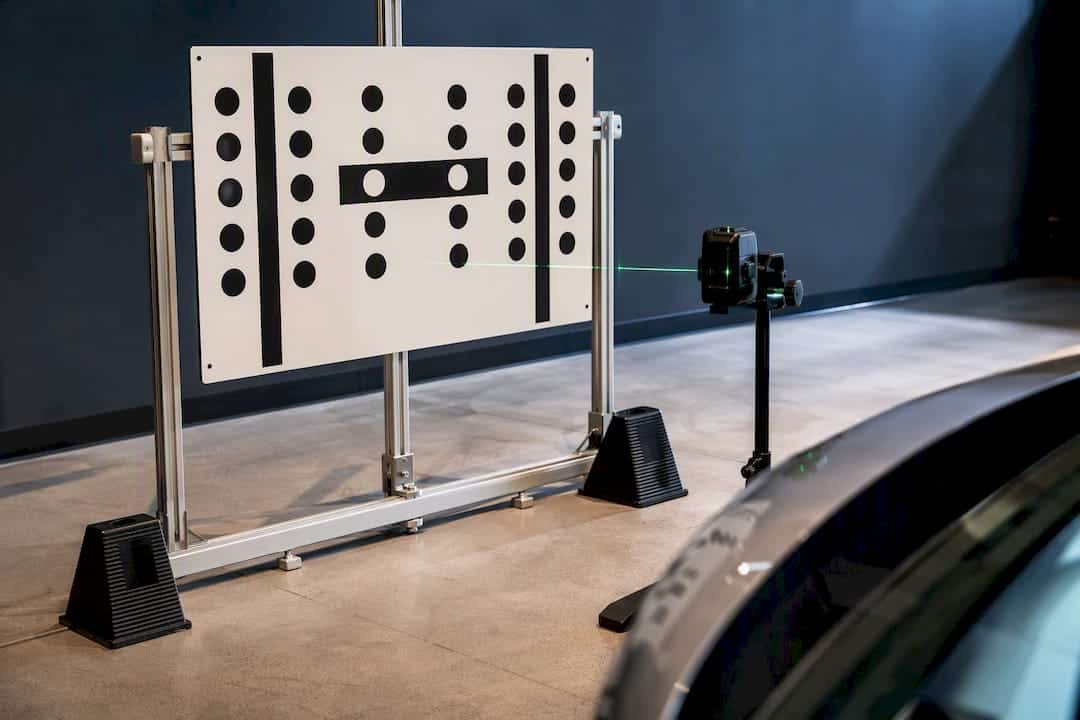
Expect roughly one to three hours including setup, plus documentation: pre-scan and post-scan reports, photos of target placement, and the measurements used. Skip any of that prep and you risk the scariest outcome in this whole process: an incorrect setup that still returns a “pass” on the scan tool while the sensor is aimed wrong.
What Is Dynamic Calibration and How Does It Work?
Dynamic calibration puts the vehicle back on the road and lets the system calibrate itself against real lane lines instead of printed targets.
The technician puts the relevant module into calibration mode through a scan tool, then drives a specific route at a speed band the OEM defines, with exact ranges varying by manufacturer. The system needs to hold a consistent lane position long enough to gather valid data, which means clear lane markings, daylight, low traffic, and decent visibility are not nice-to-haves, they’re requirements.
Equipment is lighter than the static side: a scan tool capable of running the dynamic routine, a pre-planned route the technician knows will meet the road requirements, and a way to log start and finish times along with conditions on the day. That last part matters more than it sounds, because a calibration that fails on a rainy Tuesday isn’t proof of a bad sensor. It’s proof the drive needs to happen again on a clear day.
Timing is often under an hour, but that number is soft. Dynamic procedures aren’t casual test drives. They demand strict speed control and uninterrupted valid conditions for the full duration, and failing to hold those conditions is the most common reason a calibration drive hangs without completing. A failed run usually just means rescheduling for better traffic or weather, not a mechanical problem with the car.
Many OEMs sequence static before dynamic on purpose. Static locks in a clean baseline aim under controlled conditions first. Dynamic then validates that the sensor fusion actually performs correctly once real-world variables like speed, curves, and other traffic enter the picture.
Comparing Static and Dynamic Calibration Side by Side
| Dimension | Static Calibration | Dynamic Calibration |
|---|---|---|
| Vehicle state | Stationary in a shop bay | Driven on public roads |
| Environment required | Level floor, controlled lighting, clear background | Daylight, clear lane markings, low traffic |
| Primary reference | OEM targets, pattern boards, radar reflectors | Lane lines and real-world objects |
| Primary equipment | Calibration frame, target kit, laser tools, scan tool | Scan tool with dynamic routine, planned route |
| Typical time | About 1 to 3 hours including setup | Often under an hour, but condition-dependent |
| Repeatability | High, once geometry is correct | Variable, tied to weather and traffic |
| Main failure causes | Uneven floor, wrong target distance, poor lighting | Faded lane markings, traffic, bad weather |
Static calibration tends to win out for camera-heavy systems that benefit from a controlled, verifiable setup you can photograph and document on the spot. Dynamic tends to be the better fit for systems that need to prove themselves at speed, where a printed target simply can’t replicate what a moving sensor experiences. Neither preference overrides the OEM procedure. Many modern vehicles require both calibrations in sequence, and that combination is becoming the norm rather than the exception as ADAS suites grow more complex.
How to Decide Which Calibration Your Vehicle Needs
Start with the source that actually matters: the OEM procedure pulled from a diagnostic platform or factory service manual, not a general assumption based on brand reputation. From there, the decision tree is straightforward.
- Look up the specific procedure for that make, model, year, and trim before scheduling anything.
- Inspect wheel alignment and clear any stored diagnostic trouble codes before attempting either calibration.
- If the OEM calls for both, schedule static first, then dynamic, in that order.
- If only one method applies, confirm every precondition for it is met (floor level for static, road conditions for dynamic) before starting.
- Document everything: pre-scan and post-scan reports, target measurements or route notes, timestamped photos, and the technician’s name.
- Ask any shop directly: “Will you follow the OEM procedure and provide documentation and photos?”
Shops that build repeatable workflows around OEM lookup, pre-checks, and documented setup photos see fewer disputes and smoother insurance reimbursement. That paperwork isn’t busywork. It’s the difference between proving a job was done right and hoping nobody asks.
Why Calibrations Fail and How to Fix Them
A stalled or failed calibration almost always traces back to one of a handful of causes, and most are fixable without new parts.
- Faded or missing lane markings, heavy traffic, poor weather, or low light stall dynamic drives before they gather enough valid data. Reschedule for better conditions or a cleaner route.
- Incorrect target geometry, an uneven floor, glare, or background clutter cause static setups to return a false pass. Re-measure target placement and check the floor with a level before rerunning.
- Unresolved diagnostic trouble codes, misalignment, sensor damage, or a dirty windshield will undermine either method regardless of setup quality. Clear codes, check alignment, and clean the sensor housing first.
A “check ADAS” light on the dashboard means the safety system is already compromised. It calls for a professional recalibration, not a simple reset. If a calibration still won’t complete after fixing the obvious issues, that’s the point to contact OEM technical support or request manufacturer-level verification rather than guessing further.
What to Expect From a Mobile ADAS Calibration Appointment
This company has extensive experience handling glass and calibration work and offers a warranty on the glass side of every job.
A mobile calibration after windshield replacement still follows the same OEM sequence a shop bay would: vehicle prep, target setup or a qualifying road drive, and a documented pre-scan and post-scan. Technicians bring the ADAS calibration equipment on-site and photograph the setup for the customer’s record.
Before the appointment, clear the windshield area, check tire pressure, and note any dashboard warning lights so they can be addressed first. One caution worth repeating: a scan tool showing “pass” is not the same as a documented, OEM-compliant procedure. Ask for the paperwork every time.
Why Documentation Is the Part Nobody Talks About
Following the OEM sequence isn’t a compliance checkbox. It’s what protects the customer’s safety and the shop’s liability if a sensor is ever questioned after the fact. A repeatable workflow, target photos, scan reports, route notes, catches the rare setup error before it leaves the bay, not after a claim gets filed months later.
— Speedy Windshield Repair
Book a Mobile ADAS Calibration in San Diego County
Some providers offer mobile ADAS calibration as part of applicable windshield replacements, performing service at your home or office instead of a shop waiting room. Technicians bring calibration equipment to your location, follow the OEM sequence for your specific vehicle, and provide documented pre-scan and post-scan reports so you have proof the job was done right.
Coordination with insurance is built into the process, and many customers pay as little as $0 out-of-pocket once a claim is approved. Before your appointment, clear any dashboard warning lights if you can and have your insurance information ready. To get a quote or schedule mobile windshield replacement with calibration included, visit the San Diego service page and book a time that works around your day, not the shop’s.
Sources
This guide draws on trade resources covering static and dynamic calibration procedures, shop-level calibration guidance, and a peer-reviewed engineering source on sensor alignment and vehicle safety systems.
- Static vs. Dynamic ADAS Calibration Explained
- Vehicle ADAS Calibration: Static or Dynamic?
- Static vs Dynamic ADAS Calibration, Explained | Level 5 Solutions
- How ADAS Calibration Works: A Driver’s Guide
FAQ
What Are the Three Types of Calibration?
Most shops group ADAS calibration into static, dynamic, and a combined static-then-dynamic procedure, with the OEM service manual specifying which type a given repair requires.
What Is Static Calibration?
Static calibration is an indoor procedure where a stationary vehicle’s camera or radar is aimed using OEM targets placed at exact, measured distances and angles.
Do I Need to Do Dynamic Calibration Every Time?
No. Dynamic calibration is only required when the OEM procedure for that specific vehicle calls for it, and some models need only a static calibration while others need both.
Which ADAS Calibration Method Is Best?
Neither method is inherently better. The right choice depends entirely on what the vehicle manufacturer’s procedure specifies, and Speedy Windshield Repair San Diego always follows that procedure rather than defaulting to one method.
How Long Does ADAS Calibration Take?
Static calibration typically takes about one to three hours including setup, while dynamic calibration is often under an hour but depends heavily on road and weather conditions.
Recommended
- Static ADAS Calibration: When Your Vehicle Needs It
- ADAS Calibration Targets: A Technician’s Buying Guide
- Mobile ADAS Calibration: What Shops Need for OEM Compliance
- ADAS Calibration: Essential for Your Vehicle’s Safety and Performance