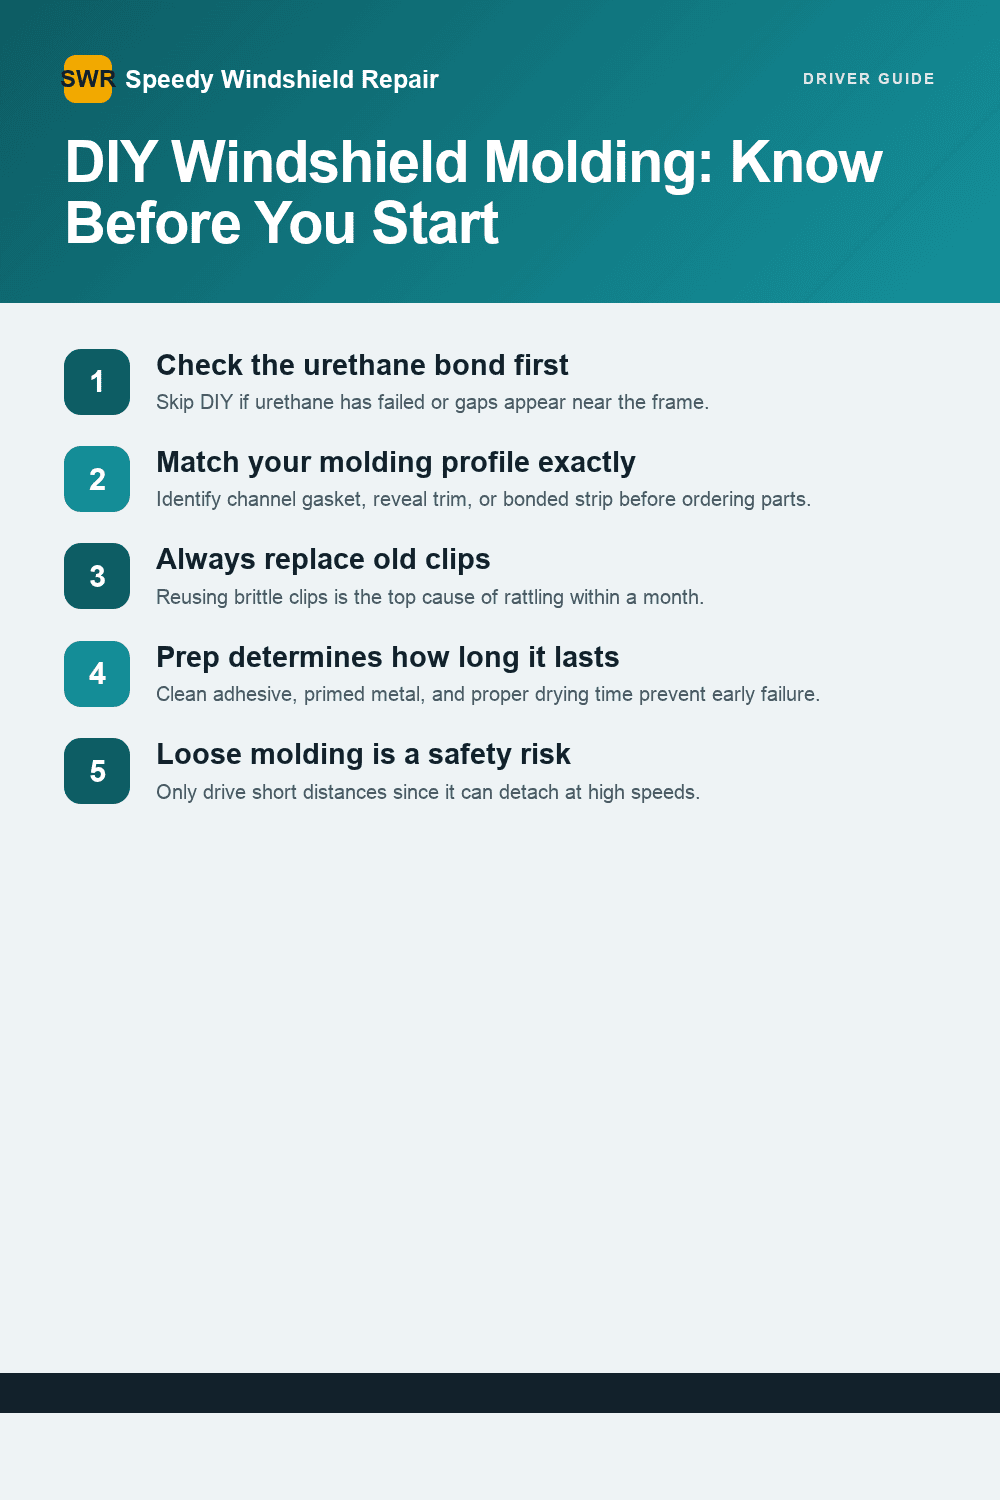
Yes, you can usually replace windshield molding yourself with basic tools and about an hour of patience. The exception is when the urethane bond underneath has failed or an ADAS camera sits near the glass. Don’t drive long distances with loose molding. If you see a gap where the urethane meets the frame, or a sensor mounted near the windshield, get it inspected before you touch anything.
TL;DR:
- Replacing windshield molding DIY is feasible with basic tools if the urethane bond is intact and no ADAS camera or sensor is near the glass.
- Correct profile selection, proper prep, a clean adhesive bond, and fresh clips are crucial to ensure lasting and quiet installation.
- Common issues like wind noise or leaks often result from improper seating, incorrect clips, or urethane failure, not from faulty installation alone.
- Signs of bigger underlying issues include gaps, water pooling, or corrosion, which require professional inspection and possible windshield replacement.
- Drive short distances with loose molding only as a temporary measure, since it can detach at high speeds and cause safety hazards or interior damage.
Table of Contents
- What Parts and Tools Do You Need for Windshield Molding Replacement?
- How Do You Replace Windshield Molding Step by Step?
- Why Is My New Windshield Molding Making Noise or Leaking?
- When Should You Hire a Professional Instead of DIY?
- How Much Does Windshield Molding Replacement Cost?
- Is It Safe or Legal to Drive With Missing Windshield Molding?
- What Field Technicians Wish DIYers Knew
- Get a Mobile Molding and Windshield Inspection Without the Shop Visit
- Sources
- FAQ
What Parts and Tools Do You Need for Windshield Molding Replacement?
Before you order anything, figure out which molding profile your car actually uses. Most vehicles built in the last two decades use one of three types: a channel gasket that wraps the glass edge, an exterior reveal trim that snaps over clips, or a bonded strip that relies on adhesive alone. Pop the glove box manual or search your VIN against a parts catalog before assuming a universal strip will work. Industry suppliers stock dozens of universal profiles and channel widths, and picking the wrong one is the single fastest way to end up with a whistling gap at 60 mph.
Here’s what belongs in your cart before you start:
- Replacement molding strip matched to your vehicle’s profile length and clip spacing
- Channel butyl or urethane-compatible adhesive for bonded moldings (never generic silicone caulk)
- Primer/cleaner for the pinch weld and molding channel
- Replacement clips or retainers rather than reusing old, brittle ones
- Seam sealer for any exposed edges after installation
For tools, keep it simple: a plastic pry tool set (metal will scratch paint and chip glass edges), a trim removal kit with assorted tabs, a cold knife or utility razor for cutting old adhesive, isopropyl alcohol for cleaning, and mechanic’s gloves. If your vehicle’s molding integrates with cowl panels or wiper trim, add a small ratchet set for the fasteners underneath.
On sourcing: OEM-profile moldings cost more but fit tighter, especially on vehicles with tight tolerances around the A pillar. Universal strips from retailers like Amazon or O’Reilly work fine on older, boxier vehicles where fit isn’t finicky, but measure twice and match clip type, not just strip width. A mismatched clip is the most common reason a “correct” molding still rattles loose within a month.
How Do You Replace Windshield Molding Step by Step?
Windshield trim installation rewards patience more than muscle. Rushing the prep stage is where most DIY jobs go wrong, and it’s also the part nobody photographs for their tutorial videos.
-
Assess before you touch anything. Run a finger along the molding’s full length. Feel for gaps, soft spots, or a section that lifts away from the glass. If you spot a visible urethane gap or the pinch weld underneath looks corroded, stop and read the professional service section below before proceeding. Note whether a rain sensor or ADAS camera bracket sits behind the glass near the top center.
-
Remove the old molding carefully. Start at a corner, usually where the molding overlaps at the bottom. Slide a plastic pry tool between the trim and the glass edge, working slowly rather than yanking. Clips typically sit every 6 to 8 inches along the channel. Manufacturer documentation, including Honda’s own removal walkthrough, stresses working in sequence rather than pulling from the middle, which tends to snap clips or tear the trim.
-
Prep the channel. This is the step that actually determines whether your car windshield seal replacement lasts five years or five months. Scrape out every trace of old adhesive with the cold knife, then wipe the channel down with isopropyl alcohol until the rag comes back clean. Light surface rust needs a wire brush; anything deeper than surface rust means bare metal exposure that primer alone won’t fix long term. Apply automotive primer to any exposed metal and let it flash off per the label, usually 5 to 10 minutes.
-
Dry-fit the new molding before committing adhesive. Lay the strip along the channel without adhesive to check length and clip alignment. Trim excess length with sharp scissors or a razor, cutting slightly long rather than short since you can always trim more. Swap in new clips wherever the old ones show flex or cracking. Reusing brittle clips is a false economy that costs you a second repair.
-
Apply adhesive and seat the molding. For channel-style trim, run a thin, continuous bead of butyl into the channel, not on the molding itself. For bonded strips, apply adhesive directly to the strip’s back edge per the product instructions. Press the molding into place working from one corner to the other, seating clips with firm palm pressure rather than hammering. Wipe excess adhesive immediately; cured butyl is far harder to remove than fresh.
-
Cure and verify. Most adhesives need 30 minutes to an hour before you can safely close doors near the seal, and full cure can take 24 hours depending on temperature and humidity. Once cured, run a garden hose over the seam at moderate pressure and check the interior for moisture. Run your hand along the finished trim looking for high spots or gaps you can slide a fingernail into.
Pro Tip: Cure time is not negotiable in humid weather. Adhesives that claim a 30-minute set time in a shop environment can take twice as long in coastal fog or after a rain, so build in extra time before you drive on the freeway.
Why Is My New Windshield Molding Making Noise or Leaking?
Most post-install complaints trace back to one of three causes, and none of them require pulling the whole job apart to fix.
Wind noise usually means the molding isn’t seated flush somewhere along its length. Run your fingers along the trim at low speed first, feeling for a section that lifts under light pressure. A short test drive at 40 to 50 mph will often reveal exactly where the whistle starts. Reseating a lifted section with fresh adhesive at that specific spot is usually enough. Check drainage channels near the cowl too since blocked drains can force air and water into gaps that look fine visually.
Leaks need a controlled water test rather than guesswork. Run water slowly over one section of the seam at a time while a second person watches inside with a flashlight. This isolates the failure point instead of soaking the whole cabin and leaving you no wiser. If water gets in despite intact molding, the underlying urethane seal may have failed rather than the trim itself.
Broken or missing clips are simple to retrofit. Pull the affected molding section, replace the clip with a matched part, and reseat. For sections with no clip access, a small dab of weatherproof adhesive can hold the trim temporarily, though this isn’t a permanent fix.
- Whistling that returns after reseating usually means a profile mismatch, not a bad install
- Repeated leaks in the same spot after two reseal attempts point to urethane failure underneath
- Clips that keep cracking on removal are a sign the plastic has aged past reuse
Pro Tip: If the same corner leaks twice after a proper reseal, stop reseating it. That’s your frame or urethane bond talking, not your technique.
When Should You Hire a Professional Instead of DIY?
Certain warning signs mean this stops being a windshield gasket replacement job and becomes a windshield replacement or urethane repair job. Trying to fix it with more molding just delays the real problem.
Watch for these red flags:
- A visible gap between the glass and the urethane bead, especially near corners
- Water pooling in the door sills or floor after rain, even with intact-looking molding
- Corrosion along the pinch weld that flakes or crumbles when you press it
- Damage near a rain sensor, camera bracket, or other ADAS component mounted behind the glass
Any of those situations usually means full windshield replacement rather than a molding swap, and vehicles with forward-facing cameras need recalibration afterward to keep lane-keeping and collision-warning systems accurate.
A technician handles this differently than a home mechanic can. They inspect the urethane bond under magnification, treat or replace corroded metal before it spreads, and match clip and trim geometry using manufacturer-spec parts rather than universal stock. The work also comes with a warranty, so a callback for a leak doesn’t cost you twice. For anyone juggling a work schedule, a mobile service that comes to your driveway or office parking lot beats losing half a day at a shop, and many insurance policies cover the visit at little or no cost to you.
How Much Does Windshield Molding Replacement Cost?
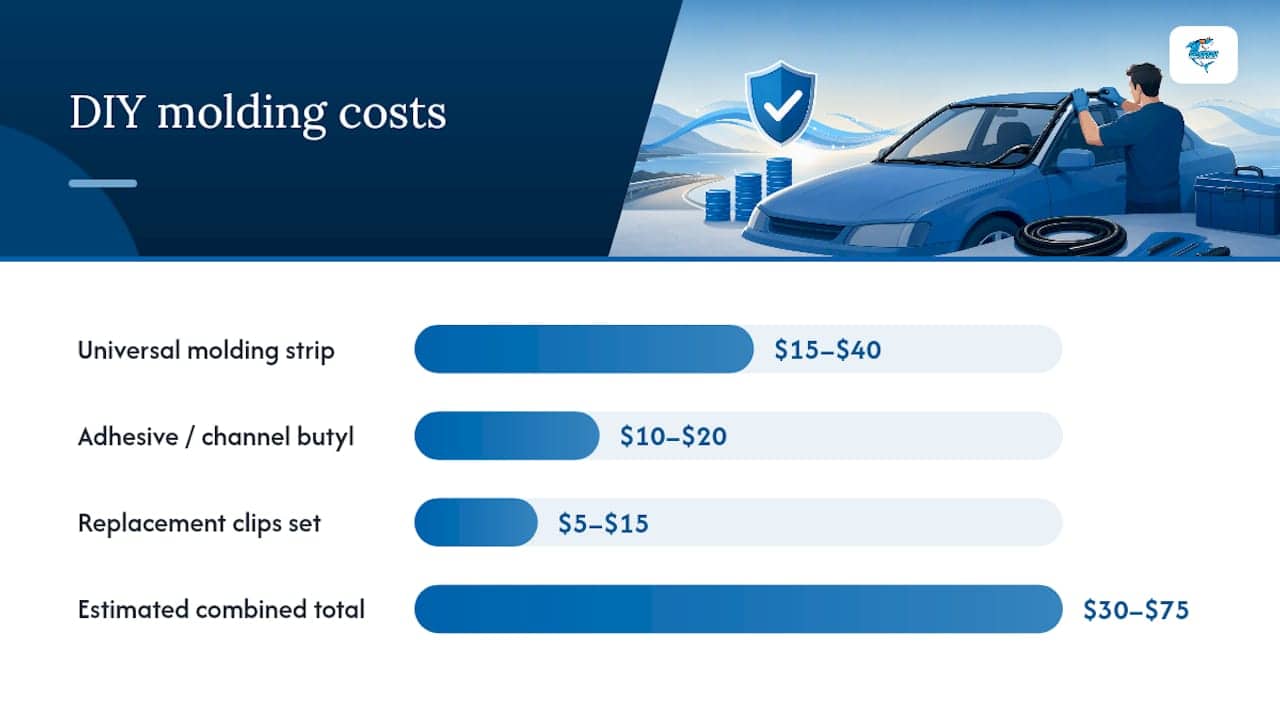
DIY parts run cheap. A universal molding strip typically costs $15 to $40, adhesive or channel butyl adds another $10 to $20, and a set of replacement clips runs $5 to $15 depending on your vehicle. Budget $30 to $75 total for a straightforward job, plus your own labor.
Professional windshield trim replacement costs more because labor, diagnostics, and parts matching all factor in. Expect higher costs when ADAS recalibration is required, when corrosion repair is needed on the pinch weld, or when your vehicle only takes OEM-specific trim rather than universal stock. A technician-verified job also carries a workmanship warranty, which a DIY repair does not.
Time-wise, a DIY molding swap takes 1 to 2 hours of hands-on work, plus cure time before you can drive normally. A mobile professional visit is typically faster start to finish because the technician arrives with matched parts and doesn’t need to diagnose the profile on the spot.
The real cost of waiting: Driving with damaged or missing molding doesn’t just look bad. It can raise wind noise by as much as 4 decibels and opens the door to water intrusion that damages interior electronics and promotes rust. A $30 to $75 fix now is cheaper than the carpet, wiring, or pinch weld repair that follows months of slow leaking.
Is It Safe or Legal to Drive With Missing Windshield Molding?
Driving with missing molding for a short trip generally isn’t illegal in most places, but it’s a real hazard. A molding strip that’s already lifting can peel off entirely at highway speed, becoming a projectile for the car behind you and a liability if it causes damage. Water intrusion from a gapped seal can also short out electronics over time, which isn’t cheap to fix.
Painter’s tape can hold a flapping section in place for a short errand, but treat that as a stopgap measured in days, not weeks. Before any long drive, run your hand along the entire seam to check it’s secure, glance for water stains on the headliner or dash, and confirm nothing will lift in crosswinds.
What Field Technicians Wish DIYers Knew
The three mistakes we see most in botched molding jobs: skipping the alcohol wipe-down before adhesive goes on, reusing clips that are already cracked, and forgetting primer on bare metal. Every one of those saves five minutes and costs a callback.
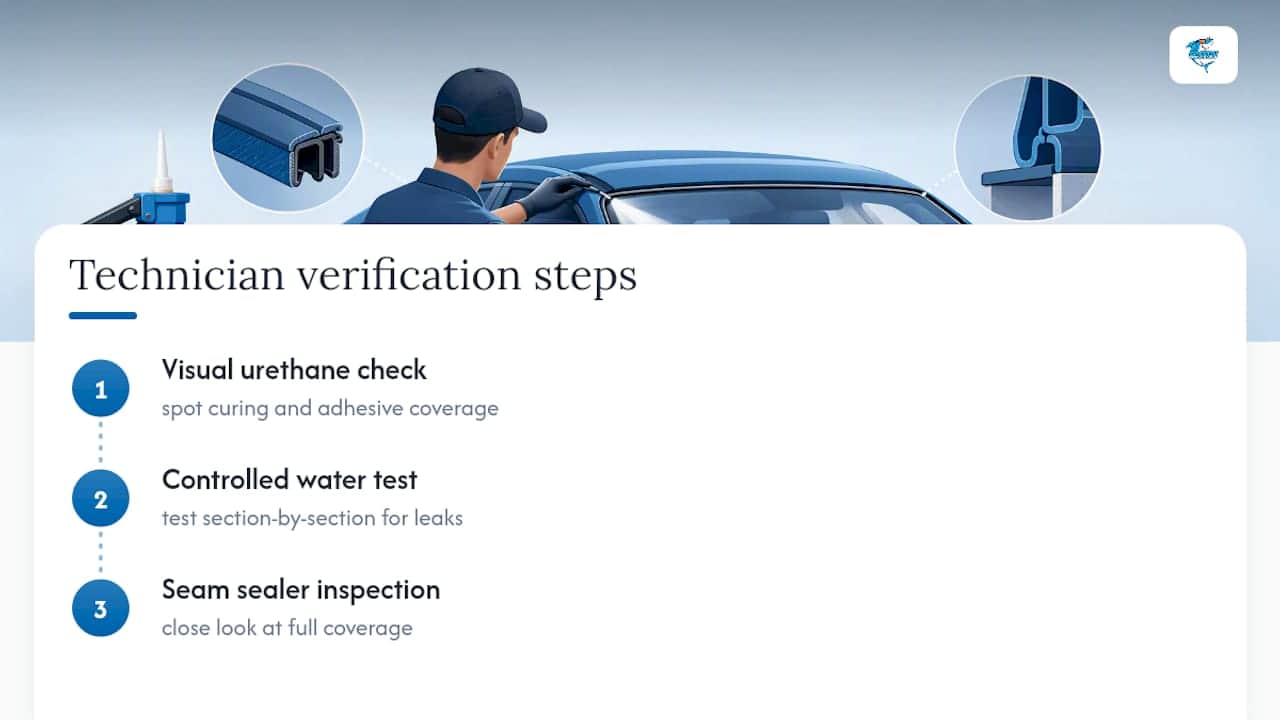
Technicians verify differently than most DIYers do. A visual urethane check, a controlled water test section by section, and a close look at seam sealer coverage catch problems before they become leaks. If you’re managing a busy schedule and don’t want to gamble a Saturday on a job that might need redoing, that’s exactly where a coordinated quality process for repair verification earns its keep, whether you’re doing it yourself or hiring it out.
— Speedy Windshield Repair
Get a Mobile Molding and Windshield Inspection Without the Shop Visit
If your molding trouble traces back to a compromised urethane seal, corroded pinch weld, or a camera that needs recalibration, that’s no longer a strip-and-clip job. It’s a windshield replacement, and it’s worth having someone check it before you spend another Saturday on a fix that won’t hold.
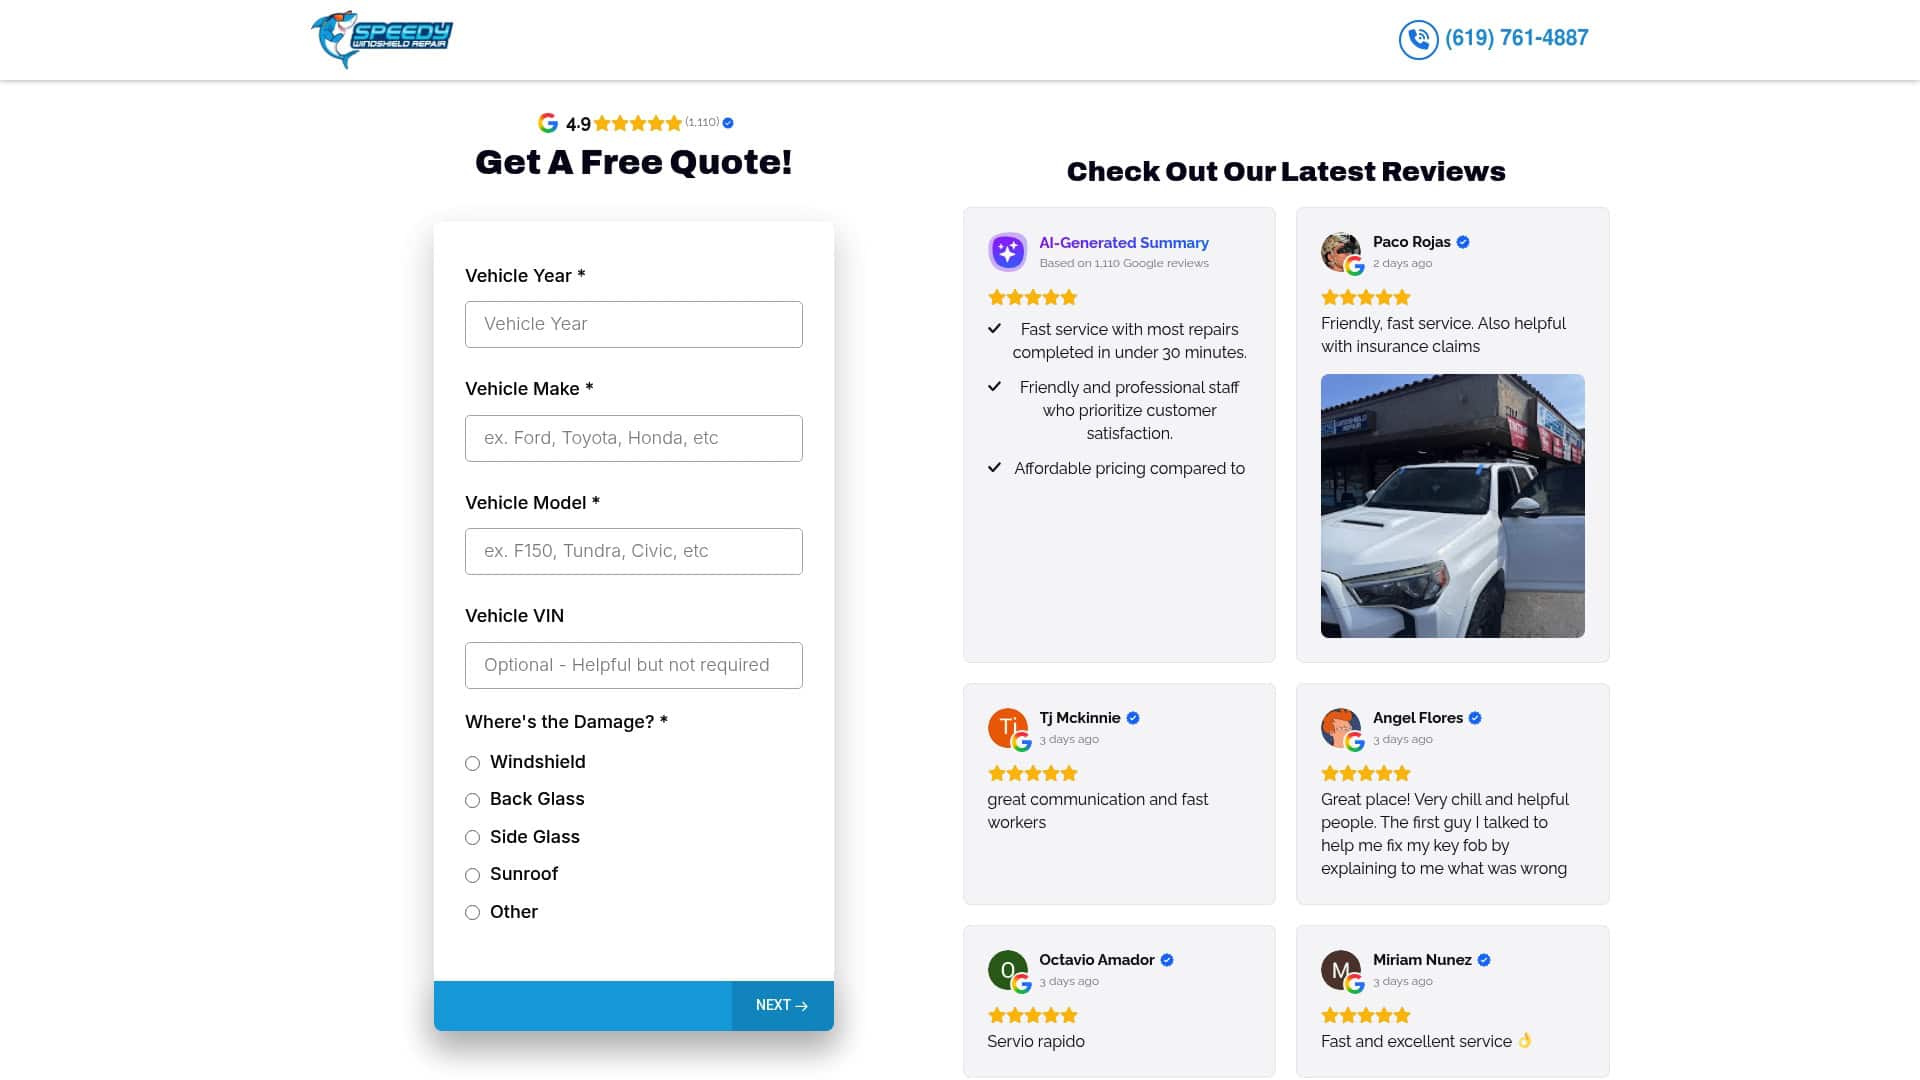
A local windshield repair service sends technicians to your home or office across the county. They are fully equipped to inspect the urethane bond, replace molding correctly, or handle a full windshield swap with ADAS recalibration on the spot. Many professional jobs carry a workmanship warranty and may work with insurance providers to reduce out-of-pocket costs. Instead of guessing whether your leak is a molding problem or something bigger, request a fast quote or check San Diego mobile service availability and get it inspected before your next long drive.
Sources
FAQ
How much does it cost to replace windshield molding?
DIY parts typically run $30 to $75 total for strip, adhesive, and clips. Professional replacement costs more once labor, ADAS calibration, or corrosion repair are involved.
Can you replace windshield molding yourself?
Yes, in most cases, as long as the urethane bond underneath is intact and no ADAS camera complicates the job. If you see a urethane gap or corrosion, that points to a full windshield job rather than a molding-only fix.
Can I drive without windshield molding?
Briefly, yes, but it raises the risk of water intrusion, rust, and wind noise increases of up to 4 decibels. Loose molding can also detach at highway speed, so secure it with tape and get it repaired promptly.
How much does it cost to replace weatherstripping on a windshield?
Weatherstripping and molding costs overlap closely since they’re often the same component. Expect $30 to $75 in DIY parts, with professional jobs costing more depending on labor and whether corrosion repair is needed.
Recommended
- Demystifying Windshield Replacement: A Comprehensive Guide to Costs and Considerations in 2024
- Windshield Repair and Replacement: DIY vs. Auto Glass Shop vs. Mobile Auto Glass Service
- How to Calibrate Camera After Windshield Replacement?
- Windshield Replacement: Do-It-Yourself or Professional Service?
🎧 Listen to This Article