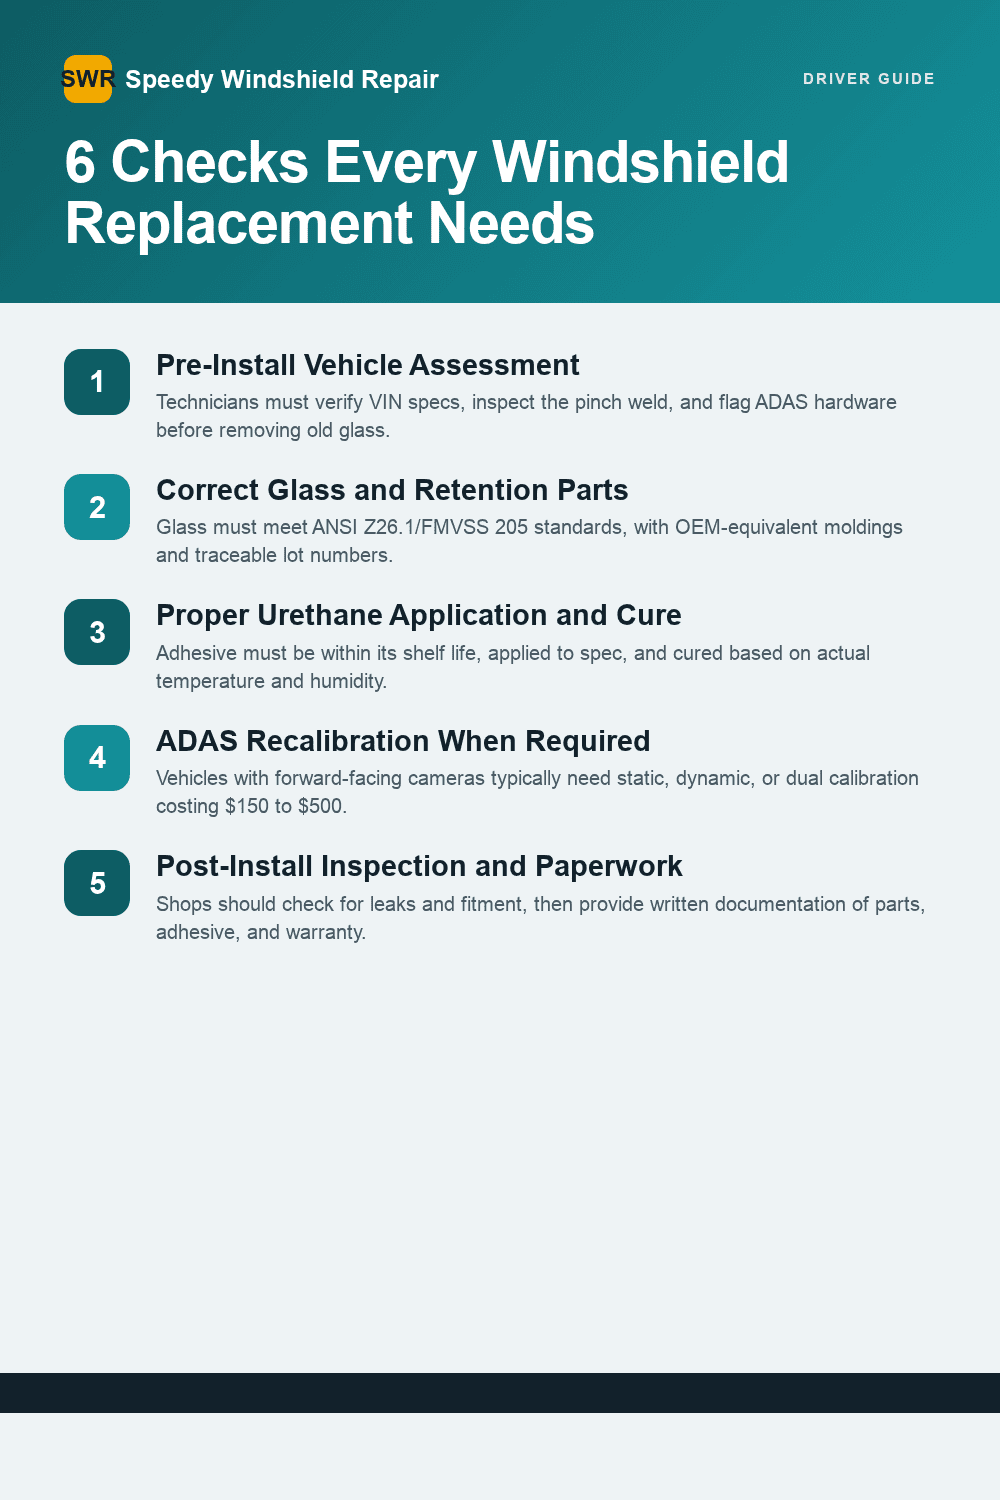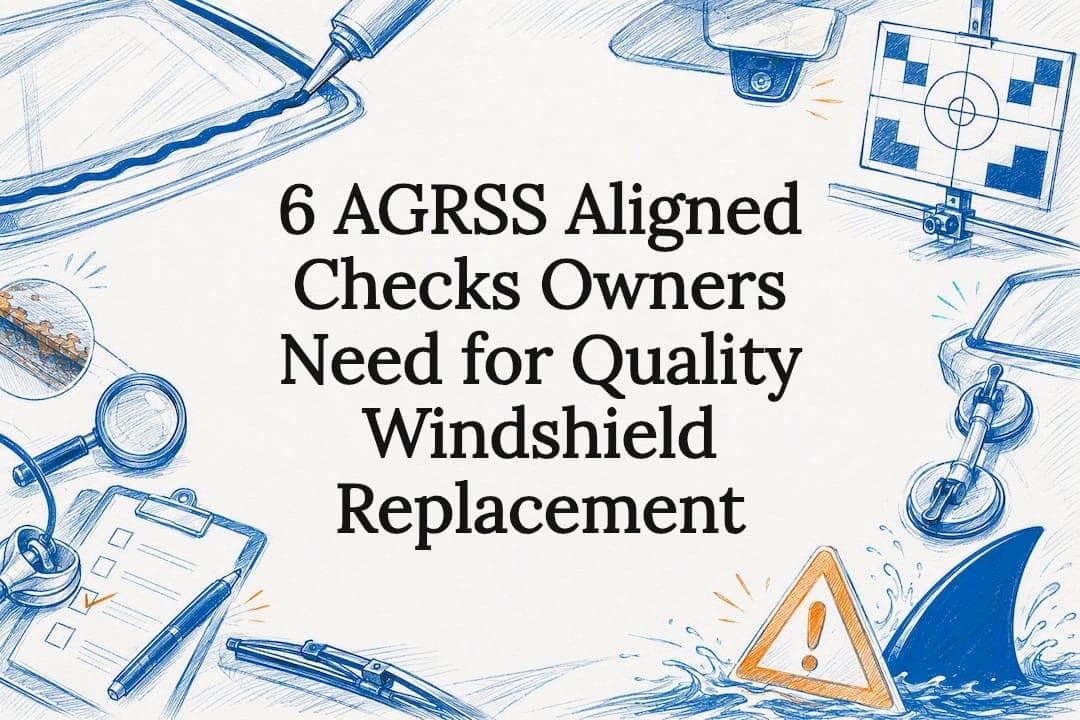
A quality windshield replacement always includes six checks: a pre-install vehicle assessment (including ADAS detection), the correct glass and retention system for your exact vehicle, proper urethane application with the manufacturer’s specified cure time, ADAS recalibration when your vehicle requires it, a post-install inspection for leaks and fitment, and written documentation covering the parts, adhesive, and warranty. Before any tool touches your car, ask the technician for AGRSS-aligned paperwork and confirm their certification.
TL;DR:
- Windshield replacement must include proper ADAS detection and recalibration if the vehicle has safety systems that depend on cameras or sensors.
- Ensure the glass, urethane adhesive, and retention components meet industry standards and are properly documented with expiry dates and lot numbers before installation.
- Verify that surface preparation, adhesive application, and seating follow manufacturer specifications, with a focus on proper cure times and environmental conditions.
- Post-installation checks should include leak testing, gap inspection, optical clarity, and confirming ADAS functions are working correctly through driving tests.
- Obtain detailed written documentation of the pre-job assessment, calibration records, and warranty terms to protect against future issues or failures.
Table of Contents
- Vehicle Assessment Before the Replacement
- Pre-Install Checklist: Glass, Adhesive, and Materials
- Installation: Step-by-Step Workmanship Checks
- When Does a Windshield Need ADAS Recalibration?
- Post-Install Inspection: What to Check the First Week
- What Paperwork Should You Get After the Job?
- Why This Checklist Exists
- Get a Checklist-Compliant Replacement Without the Guesswork
- Where This Checklist Comes From
- Sources
- FAQ
Vehicle Assessment Before the Replacement
Before a technician removes your old windshield, they need to confirm they’re working from accurate information and that your car is actually safe to work on. This isn’t optional paperwork. Under the ANSI/AGSC/AGRSS 005-2022 standard, a technician who finds a disqualifying condition is required to stop and notify you in writing rather than push ahead.
A proper pre-acceptance check covers:
- Verifying your VIN, year, make, model, and trim against OEM windshield and ADAS specifications
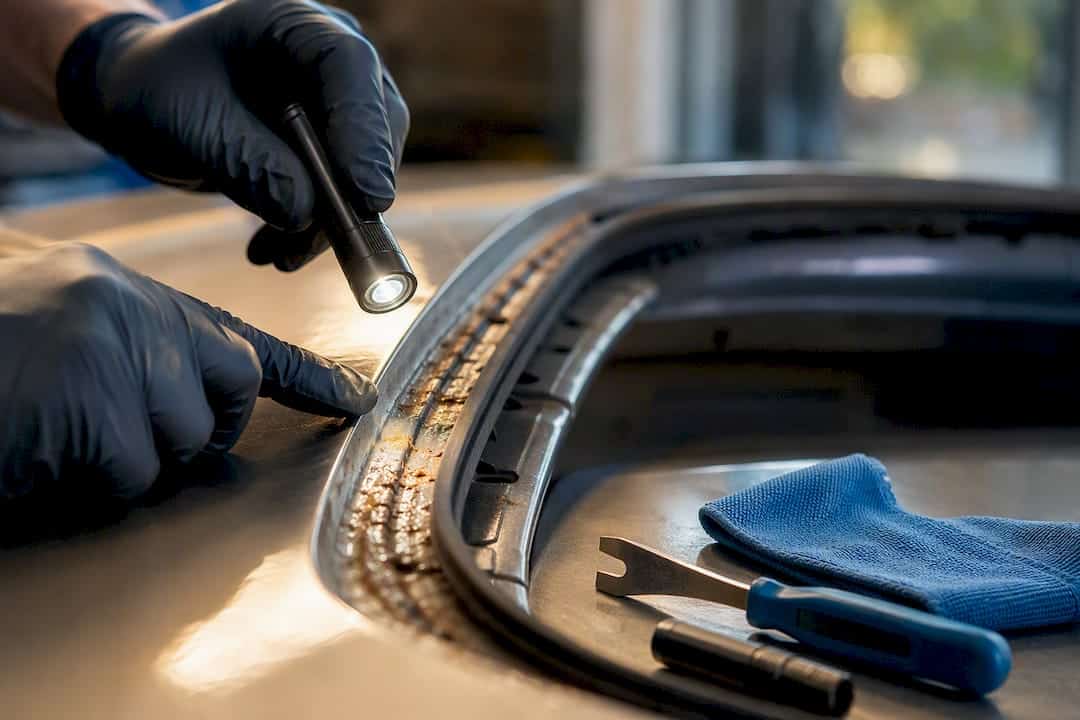
- Inspecting the pinch weld area for rust, prior repair damage, or structural issues
- Identifying ADAS hardware, like a forward-facing camera or bracket, and flagging whether recalibration will be needed
- Documenting anything found before removing the old glass
Pro Tip: Ask to see the pinch weld before the old windshield comes out. A tech who’s confident in the prep work will show you the metal, not just the glass.
If corrosion or prior damage is severe enough to compromise the bond, a legitimate shop will tell you before starting, not after the new glass is already in.
Pre-Install Checklist: Glass, Adhesive, and Materials
What goes into the car matters as much as how it’s installed. Before the job starts, verify these four things:
- Glass specifications. The replacement glass should meet ANSI Z26.1 / FMVSS 205 optical standards, and if your vehicle has a windshield-mounted camera, it needs to be ADAS-compatible glass, not a generic pane.
- Retention system. Moldings, clips, and brackets should be OEM or a certified equivalent produced under ISO 9001 or a comparable quality system, with traceable lot numbers.
- Adhesive lot and expiration. Urethane has a shelf life. A tech pulling adhesive from an unmarked or expired tube is skipping a step that directly affects bond strength.
- Drive-away time chart. Cure time depends on temperature and humidity, not a flat “one hour” rule.
Adhesive that’s past its expiration date or stored improperly can fail to bond correctly, which is a quiet failure you won’t notice until the first hard rain or a fender-bender that never should have compromised the windshield’s structural role.
Installation: Step-by-Step Workmanship Checks
Watch for these five stages if you’re present during the install, or ask the technician to walk you through them afterward.
- Dry fit and alignment. Before any adhesive goes down, the new glass should sit in a dry test fit with even gaps and correct engagement with brackets and moldings.
- Surface prep. All old urethane residue needs to come off, and the pinch weld must be clean and free of rust. This is also where contamination control matters most. Skin oils and shop grime on the bonding surface are a common, preventable cause of long-term adhesive failure.
- Adhesive bead. The urethane bead size, pattern, and height should match the adhesive manufacturer’s spec, adjusted for the day’s temperature and humidity. No voids, no thin patches.
- Seating and trim. The glass gets set once, correctly, without being pressed and repositioned repeatedly, which can stress the glass and disturb the bead.
- Cure and drive-away time. The technician should tell you the exact drive-away window they used and what ambient conditions determined it.
Pro Tip: If two technicians on two different days quote you the same “one hour” drive-away time regardless of weather, that’s worth questioning. Cure time isn’t a fixed number.
When Does a Windshield Need ADAS Recalibration?
Any vehicle with a windshield-mounted forward-facing camera, for lane-departure warning, automatic emergency braking, or adaptive cruise control, typically needs ADAS recalibration after glass replacement. The AGRSS standard requires technicians to identify ADAS hardware and either perform or arrange the recalibration the manufacturer specifies.
There are three calibration methods:
- Static calibration, done in the shop using printed targets at fixed distances
- Dynamic calibration, which requires driving on roads with clear lane markings at steady speeds
- Dual calibration, combining both, common on newer vehicles with layered camera and radar systems
Costs generally fall in the $150 to $500 range depending on method and vehicle. Ask for a signed calibration report showing the pre and post scan results and the method used.
Here’s the part most owners miss: a misaligned camera doesn’t always trigger a warning light. Experts note that a system can be off just enough to shift braking response by several feet at highway speed while showing nothing on the dash. Test the lane-departure warning, adaptive cruise behavior, and forward-collision alert on your first drive. If any of them behaves oddly, or not at all, go back.
Post-Install Inspection: What to Check the First Week
Once the new windshield is in, your job is to catch what a rushed job leaves behind.
- Check that gaps are even on all sides and moldings sit flush, with no visible adhesive squeezing out from under the trim.
- Run a soap-and-water test along the seams, then drive at moderate speed and listen for wind noise around the A-pillars.
- Look through the glass for distortion, bubbles, or scratches, and test your wipers and defogger.
- Recheck for leaks after the first rain or car wash, since a slow leak sometimes doesn’t show up until the glass has been rained on directly.
- Respect the drive-away time you were given. Skip the automatic car wash and avoid rough roads until the adhesive has fully cured.
A comprehensive protection guide covers what to avoid in the first 48 hours if you want more detail on the cure window specifically.
What Paperwork Should You Get After the Job?
Documentation is your proof that the job followed AGRSS-aligned procedure, and it’s what you’ll need if something goes wrong later. Insist on:
- A written invoice listing the glass and retention system identifiers, the adhesive lot number, and the exact drive-away time used, along with the ambient conditions that set it.
- Calibration records if your vehicle had ADAS work done, including the method used and a signed verification report.
- Written warranty terms explaining what’s covered and how a claim gets handled if a leak or bond issue shows up down the line.
Many insurers now cover ADAS calibration as part of a windshield claim, so ask before assuming it’s an out-of-pocket add-on. If a shop won’t hand over any of this paperwork, or claims AGRSS steps like calibration notification “don’t apply” to your car, treat that as a warning sign, not a shortcut.
Why This Checklist Exists
Speedy Windshield Repair San Diego has spent more than 20 years watching what separates a windshield that lasts from one that leaks or fails a camera calibration within a year. Certified technicians, a mobile setup that lets us do the pre-job assessment at your driveway or office, and a lifetime workmanship warranty aren’t marketing lines. They’re the direct result of following the same AGRSS-aligned sequence outlined above on every job: assess first, document ADAS needs, use manufacturer-specified adhesive and cure times, and verify the work before we call it done.
— Speedy Windshield Repair
Get a Checklist-Compliant Replacement Without the Guesswork
Most of the checklist above depends on a technician who actually follows it, not one who tells you it’s fine and moves fast. A mobile windshield replacement service with certified technicians can handle the pre-job assessment, ADAS-aware calibration, and a lifetime workmanship warranty on every install, at your home or office instead of a shop waiting room.
Before you book anywhere, ask for the same three things this article recommends: a documented pre-job inspection, calibration records if your car has ADAS, and warranty terms in writing. We handle insurance claims directly with all major carriers, and many customers pay as little as $0 out-of-pocket. If you’re ready to see what a checklist-compliant replacement looks like on your own vehicle, get a free quote and we’ll walk you through exactly what your car needs before any glass comes out.
Where This Checklist Comes From
- ANSI/AGSC/AGRSS 005-2022, the industry standard for adhesive, glass, and technician requirements
- AGSC’s calibration guidance on ADAS verification and documentation
- Contamination-control guidance for adhesive bonding safety
- Wiper replacement guide for post-install visibility checks
Sources
- ADAS Windshield Calibration After Replacement (2026) – Colfax Glass
- When is ADAS recalibration necessary? – REVV HQ
- Safety tips for replacing window glass – Auto Training Centre
FAQ
How Can I Check Windshield Quality After Installation?
Look for even gaps around the frame, flush moldings, no adhesive gaps or bubbles, no optical distortion in the glass, and run a soap test at the seams to catch leaks before your first rainstorm.
Is $500 a Lot to Pay for a New Windshield?
It depends on your vehicle. Basic glass without ADAS features often costs less, while a windshield with a forward-facing camera plus ADAS calibration can run $150 to $500 for calibration alone on top of the glass and labor.
What Should I Check in the Days After a Windshield Replacement?
Watch for wind noise at highway speed, leaks after the first wash or rain, distortion when looking through the glass, and confirm any ADAS features like lane-departure warning are behaving normally.
Are There Different Grades of Glass for Windshields?
Yes. Windshield glass must meet ANSI Z26.1 and FMVSS 205 standards, but quality and fit still vary between OEM glass, OEM-equivalent glass, and generic aftermarket glass, particularly for ADAS-compatible windshields.
Does Every Windshield Replacement Need ADAS Recalibration?
Only vehicles with a windshield-mounted camera or ADAS hardware require recalibration, and the method, static, dynamic, or dual, depends on what the manufacturer specifies for your make and model.
Recommended
- Top 15 Signs Your Windshield Needs Immediate Replacement
- Enhance Safety with Professional Windshield Replacement Services
- How to Calibrate Camera After Windshield Replacement?
- Why OEM Windshields Are Gaining Trust in 2026 Repairs
🎧 Listen to This Article